How to Install Git on Windows, macOS, and Linux (Step-by-Step)
Before you can use Git commands like git status, git commit, or git push, Git must be installed and working on your computer. This step is important because Git is not a cloud tool you “log into” first—Git is a local version control system that runs on your machine and tracks changes in your files over time. Once it’s installed, Git becomes the engine behind everything you do in version control: creating commits, switching between versions, and preparing your work to be shared on platforms like GitHub.
Setting up Git locally is also the moment where beginners build confidence. Many people think Git is only for big companies or advanced developers, but the truth is simple: it’s just a tool you install once, verify once, and then reuse for every project. For professionals, a correct Git installation means fewer environment issues, smoother collaboration, and consistent behavior across machines—especially when you switch devices or work on multiple projects.
Although Git can be installed on all operating systems, the easiest and most beginner-friendly path is to install it from the official Git website. For macOS and Linux users, there are also reliable alternatives like package managers. Below you’ll find a step-by-step setup guide with screenshot placeholders so you can place your images exactly where they match the flow.
Step-by-step: Install Git on Windows (recommended for this course flow)
Step 1: Visit the official Git website
Open your browser and go to the official Git site: git-scm.com. This is the trusted central hub for Git downloads, documentation, and learning resources.
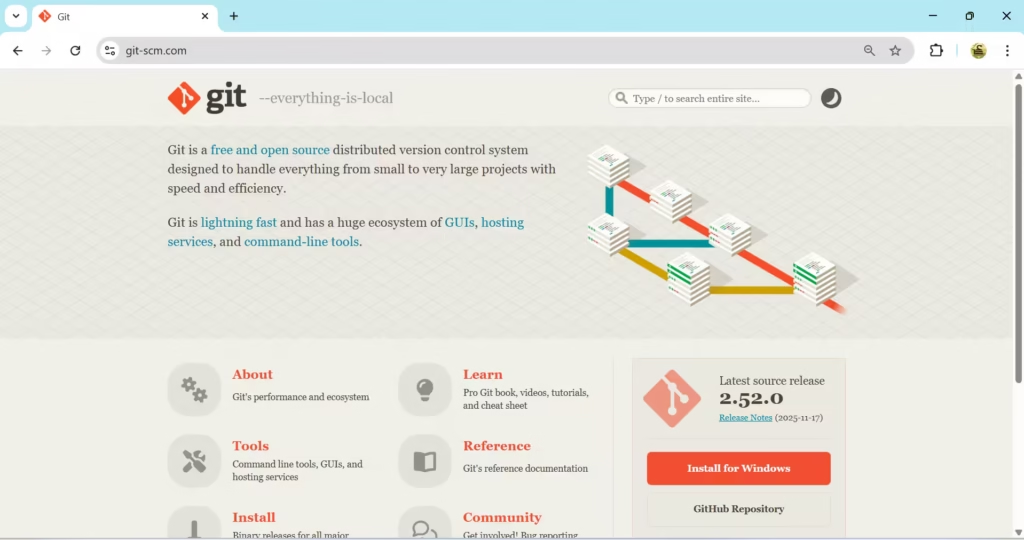
Step 2: Download Git for Windows
On the homepage, Git usually auto-detects your operating system. If you’re on Windows, you’ll see a button like Download for Windows. Click it and let the installer download.
Step 3: Run the Git installer
Open the downloaded .exe installer and follow the setup wizard. If you’re a beginner, it’s safe to proceed with the default options. The default settings work well for most users and are widely used in professional environments too.
Step 4: Finish installation and open Windows Terminal
After installation completes, open Windows Terminal (or PowerShell) from the Start menu.
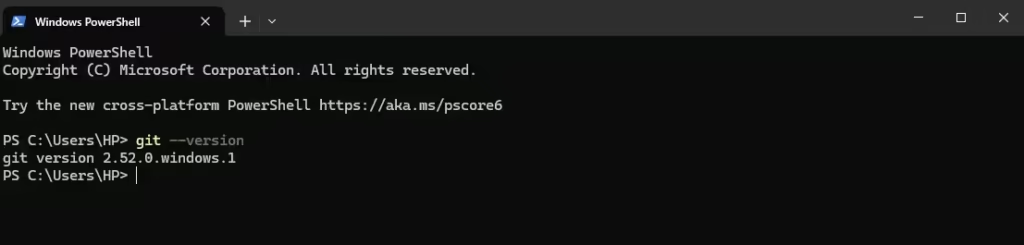
Step 5: Verify that Git is installed correctly
In the terminal, type the following command and press Enter:
git --version
If Git is installed properly, you will see a version number printed (for example: git version 2.xx.x). This confirms Git is ready to use.
Once this verification works, you are ready for the next steps in this chapter: creating repositories, making commits, and interacting with GitHub.
Step-by-step: Install Git on macOS
On macOS, Git setup is also straightforward. You can install Git either by downloading it from the official Git website or by using a package manager. Many developers prefer package managers because they make updates easier.
Option A: Install from the official website
- Go to git-scm.com.
- Download the macOS installer.
- Run the installer like any standard Mac application.
- Verify using
git --version.
Option B: Install using Homebrew (popular approach)
If you use Homebrew, you can install Git through the terminal.
brew install git
After installation, verify:
git --version
[Add Screenshot: macOS Terminal showing git –version]
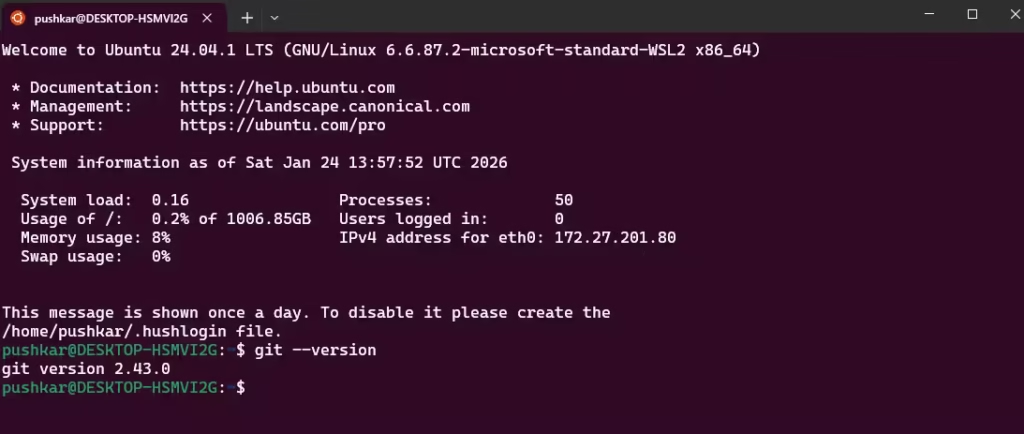
Step-by-step: Install Git on Linux (Ubuntu example)
Linux typically uses package managers instead of graphical installers. The exact command depends on your distribution, but Ubuntu/Debian-based systems are very common.
Step 1: Update package list
sudo apt update
Step 2: Install Git
sudo apt-get install git
Code language: JavaScript (javascript)
Step 3: Verify installation
git --version
Optional: Git GUI clients (if you prefer a visual interface)
Even though this chapter focuses on Git from the command line, it’s worth knowing that you can use Git with graphical tools as well. Many professionals use a mix: command line for speed and precision, and GUI tools for visual diffs and history browsing.
If you want to explore Git GUI clients, the official Git site maintains a list of popular third-party GUI tools. These tools are created by independent teams (not the core Git maintainers), but many are trusted and widely used.
What you should confirm before moving forward
By the end of this section, you should have two things working:
First, Git should be installed successfully. Second, when you run git --version, your terminal should return a valid version number. That single confirmation means your machine is ready for the hands-on Git workflow that comes next.
In the next section, we’ll start applying Git in a real workflow, beginning with the first issue—because real projects don’t begin with random commands, they begin with a goal or a problem to solve.