Create a Real GitHub Workflow from Day One
Now that your GitHub account is ready and Git is installed locally, it’s time to stop thinking of GitHub as “just a place where code sits” and start using it the way real teams do. In professional software development, work usually begins with clarity: a task, a bug report, a feature request, or an improvement idea. On GitHub, that clarity often starts as an Issue. An issue is not only for “bugs.” It’s a structured way to capture what needs to be done, why it matters, and who is responsible. Even if you are working alone, creating issues is a powerful habit because it helps you plan your work, track progress, and build a project history that feels professional.
The reason this section is called “The first issue” is simple: it’s the first step toward a repeatable workflow. Instead of randomly editing files and pushing code, you’ll first create a repository, then create an issue that describes the work, and then you’ll solve that issue using Git from the command line in the next sections. This mirrors how teams work in companies and open-source projects, where issues become the source of truth for tasks and discussions.
How to Create a new repository In Github (with README)
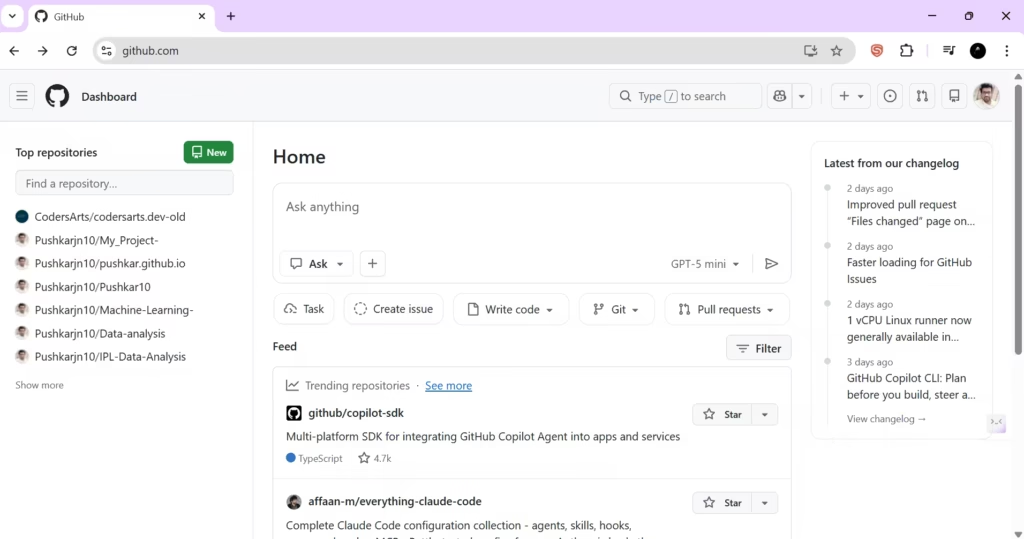
Step 1: Go to GitHub and log in
Open your browser and visit github.com. Make sure you are logged in.
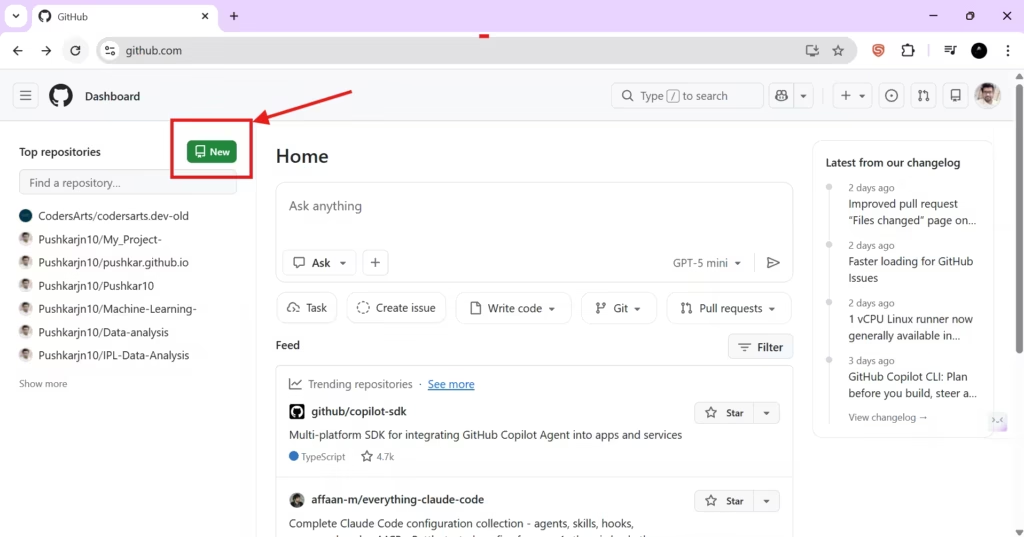
Step 2: Create a new repository
On your GitHub home page (or from the “+” menu), choose the option to create a new repository.
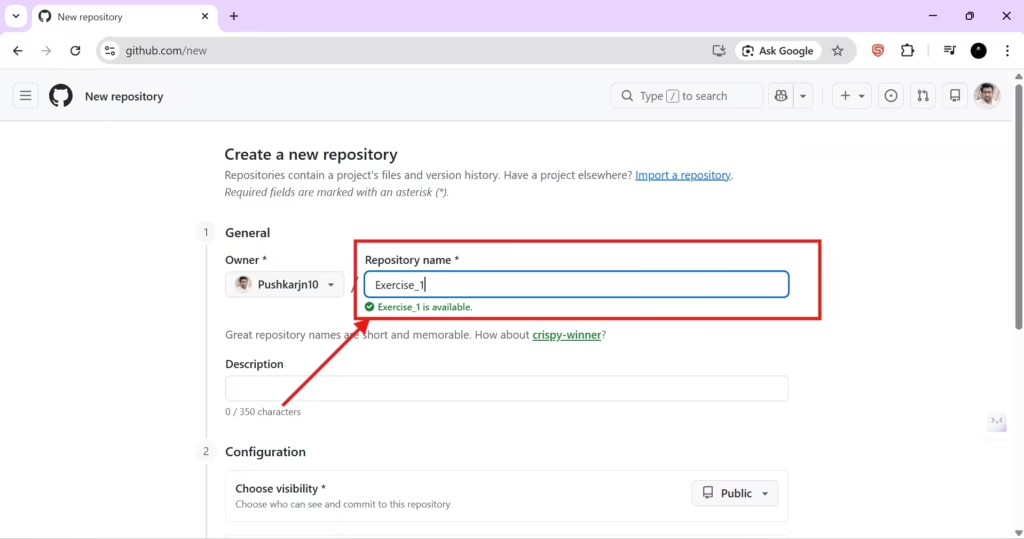
Step 3: Enter repository details
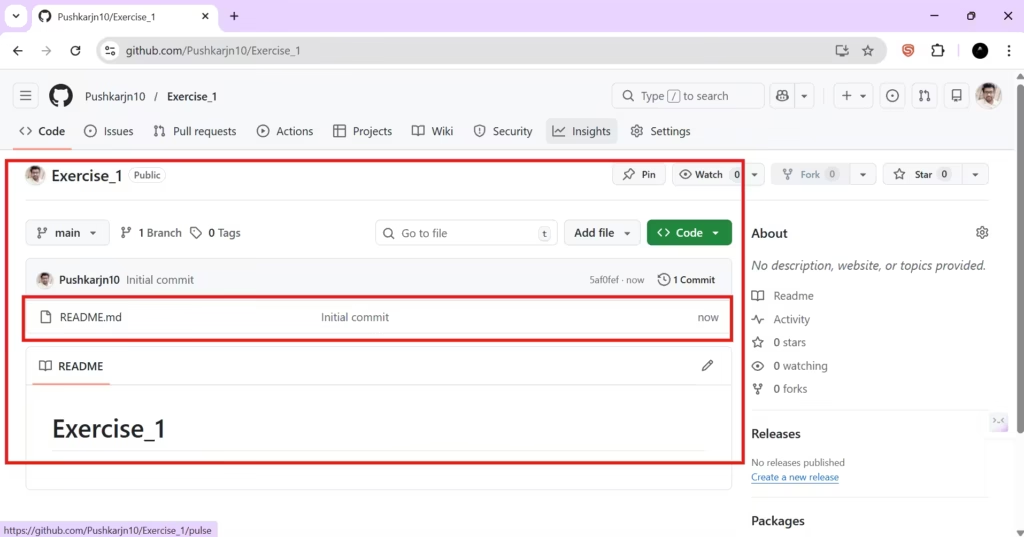
Give your repository a clear name. For learning projects, choose something meaningful like git-practice or Exercise_1.
Now, the most important part: enable “Add a README file.” This creates the first file in your repository and makes your project instantly readable on GitHub.
You can keep the rest of the options at default for now. For visibility, choosing Public is fine for learning because it lets you share your progress and build a portfolio. If you want it private, that’s okay too—the workflow is the same.
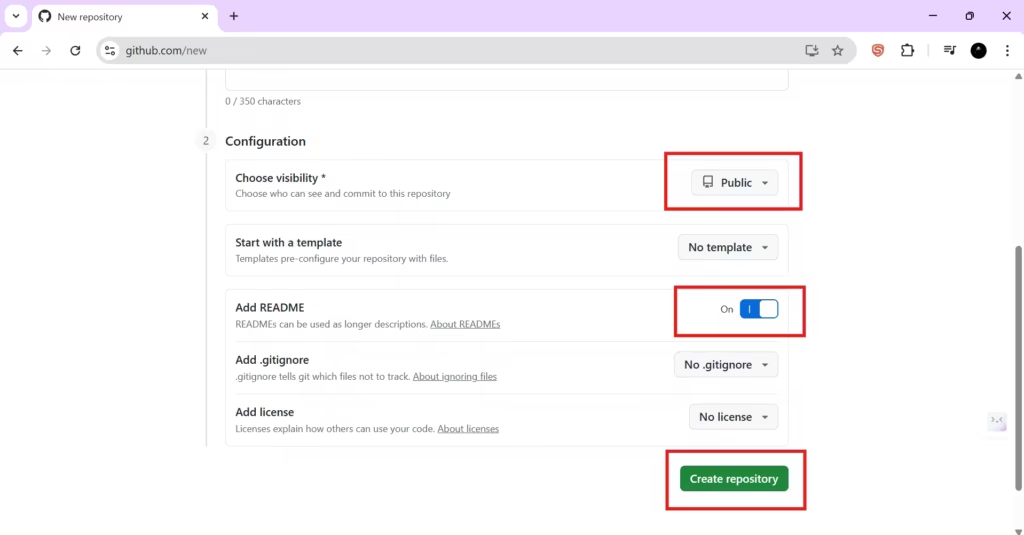
Step 4: Create the repository
Click Create repository. GitHub will redirect you to your repository homepage.
Why issues matter (even if you are working alone)
Many beginners skip issues because they think issues are only for big teams. But issues are one of the best habits you can build early. When you create an issue, you are creating a “work contract” for yourself: a short description of what you plan to do, how you will do it, and what success looks like.
In professional projects, issues also become a communication hub. People ask questions, propose solutions, attach screenshots, and link related pull requests. Over time, your repository becomes more than code—it becomes a documented story of decisions and improvements.
How To Create your first GitHub issue
Step 1: Open the Issues tab
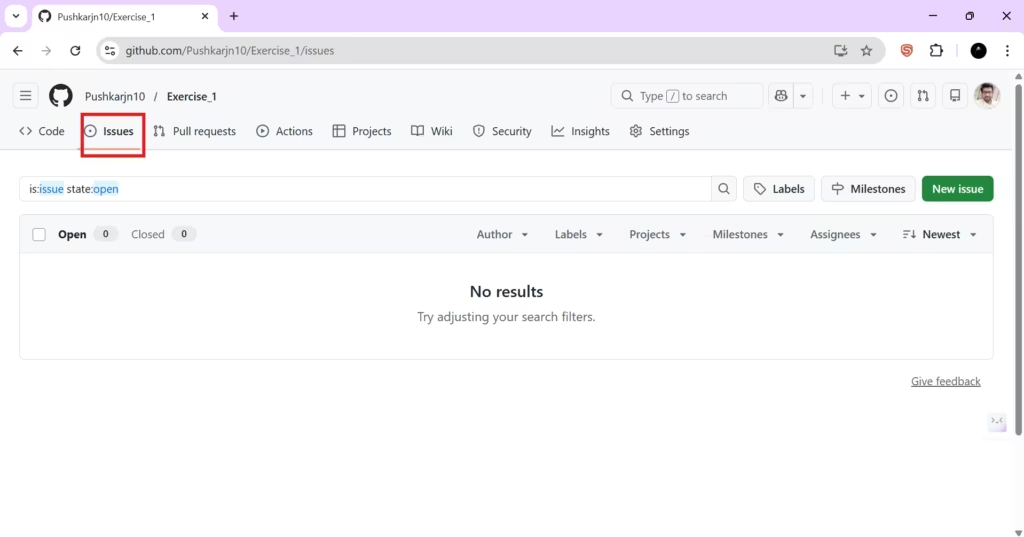
On your repository page, locate the top navigation and click Issues.
Step 2: Start a new issue
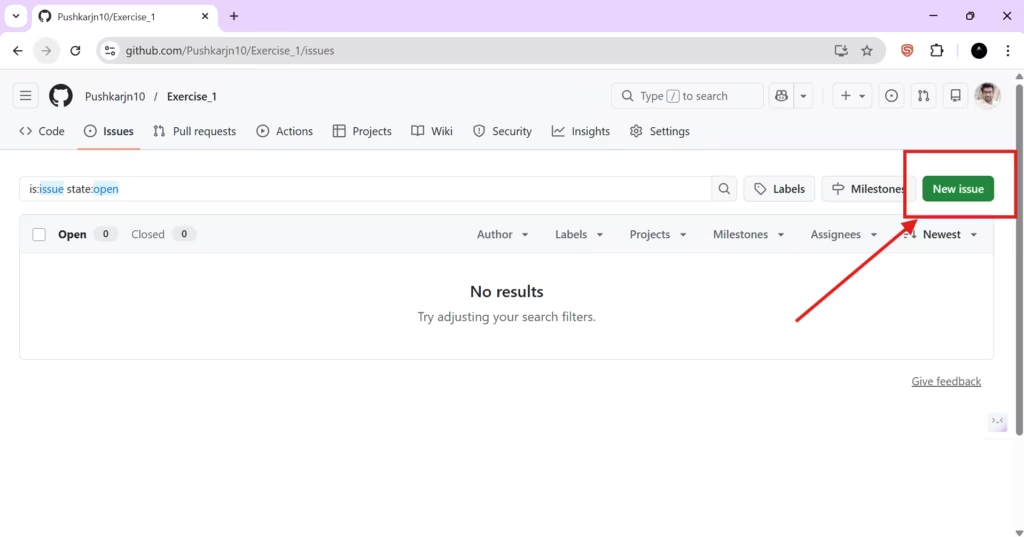
On the Issues page, click the green button labeled New issue.
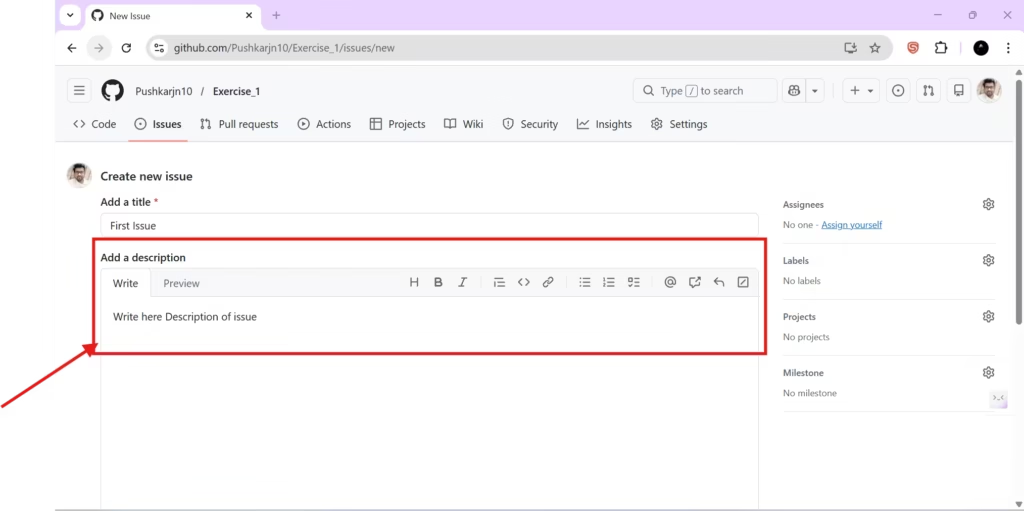
Step 3: Write a clear title
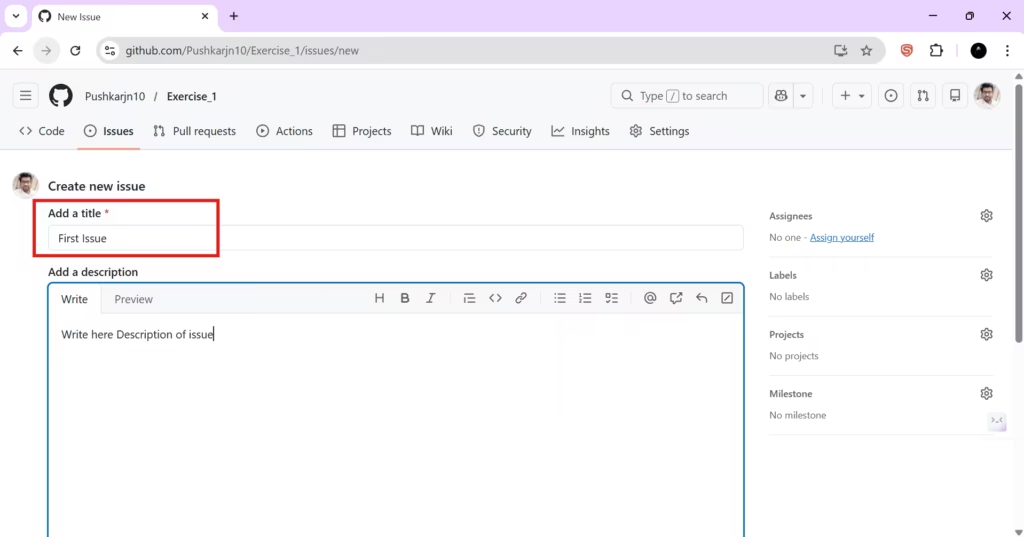
Your issue title should be short but specific. A good title communicates the task in one line. For example, instead of “Update,” write something like “Add project description to README” or “Create initial folder structure.”
Step 4: Write a helpful description (Markdown supported)
In the description box, explain what you want to do and what the outcome should be. GitHub supports Markdown, which means you can format text with headings, bold, bullet points, links, and code blocks. If you don’t remember Markdown syntax, GitHub provides a toolbar that helps you insert formatting.
A beginner-friendly structure for the description is:
- What needs to be done
- Why it matters
- What “done” looks like
This kind of description makes your issue useful, even months later.
Step 5: Assign the issue
Before creating the issue, look at the right sidebar and find Assignees. Click the gear icon and assign the issue.
If you are the only person in the repository, you’ll see only your own username. That’s normal. In team projects, you’ll see collaborators too.
Step 6: Create the issue
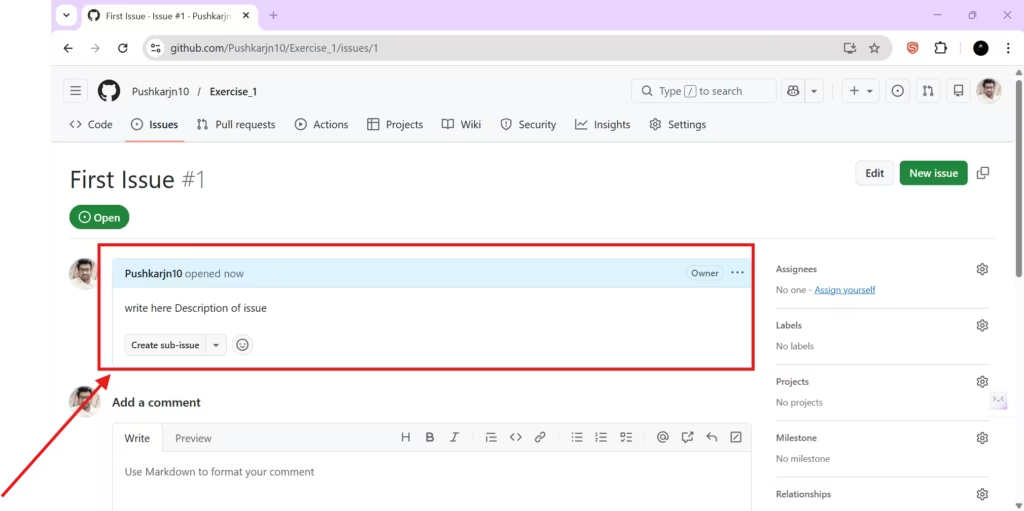
Click Submit new issue (or “Create issue,” depending on GitHub UI). GitHub will open the issue detail page.
On this page, you’ll later see discussion threads, updates, and references to pull requests that solve the issue.
What you achieved in this section
At this point, you’ve done something that mirrors real-world development: you created a repository with a README and created your first issue to define a task. This might feel small, but it is the beginning of a professional workflow.
In the next section, we will take this issue and solve it using Git from the command line by creating a branch and making commits. That’s where Git becomes practical: not random commands, but commands that support a real task and a clear goal.