Installing Python tools is usually straightforward—but every computer setup is a little different. Operating systems, security settings, and file locations vary, and updates can change what you see on screen. This guide walks you through a clean, reliable setup so you can open and run .ipynb notebook files (the format used for the course exercise files).
What you’ll install
Python (the programming language)
pip (Python’s package installer—usually included with Python)
JupyterLab (software that opens and runs Jupyter Notebook files)
(Optional but recommended)Visual Studio Code (a powerful editor that can also work with notebooks)
Step 1: Download and install Python
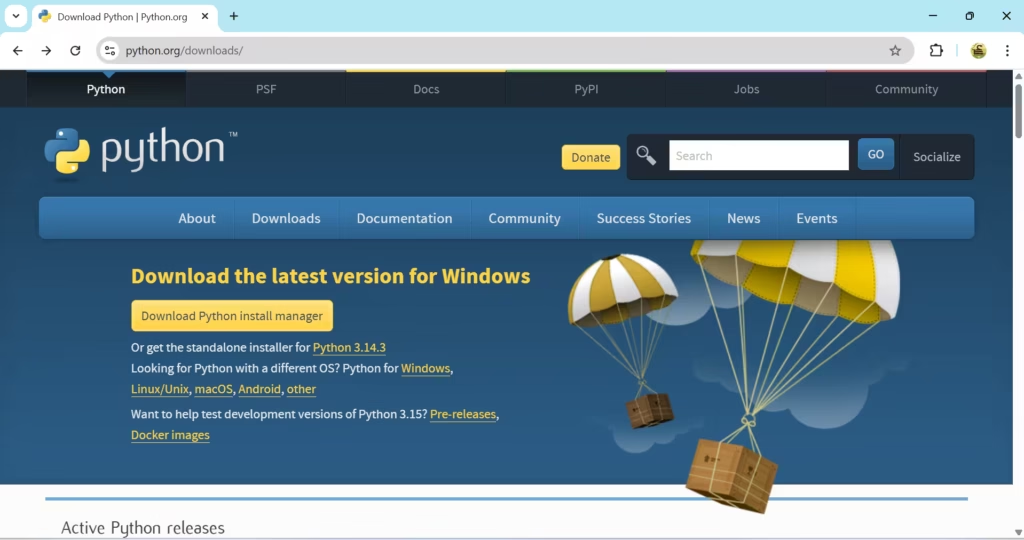
Open your browser and go to the official downloads page.
Download the latest Python version recommended for your operating system.
Run the installer.
python Download
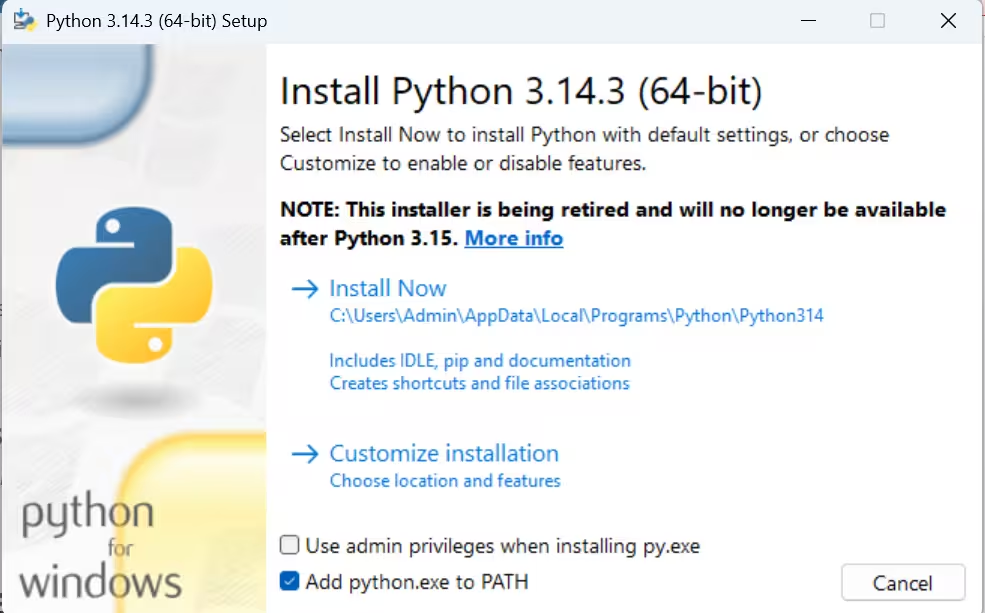
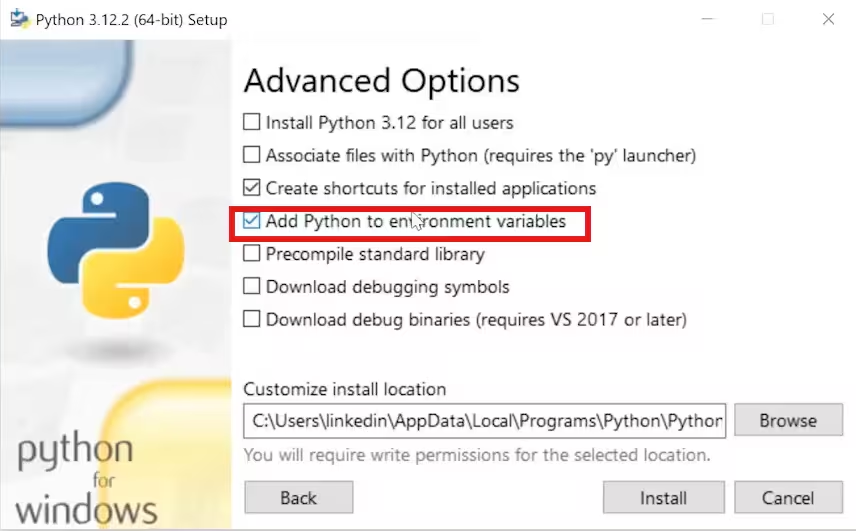
Windows: important installer option
During installation on Windows:
Choose Customize Installation
Continue to the next screen
Check the box:Add Python to environment variables
This step is critical. If you skip it, your computer may not recognize the python command in the terminal.
python installation step 1
python installation step 2
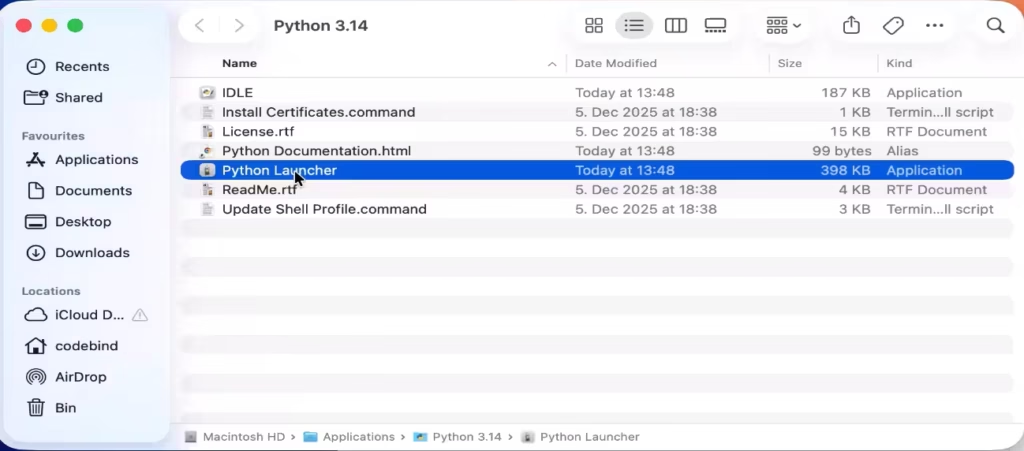
Mac: possible popup after install
On macOS, you may see a popup after installation. If it appears, simply close it and continue.
Step 2: Open your terminal (command line)
You’ll use the terminal to run a few commands.
Windows: Open Start → search for Command Prompt or type CMD
macOS:Applications → Utilities → Terminal
Linux: The terminal location varies by distribution—search for “Terminal” in your applications menu
Windows
MacOS
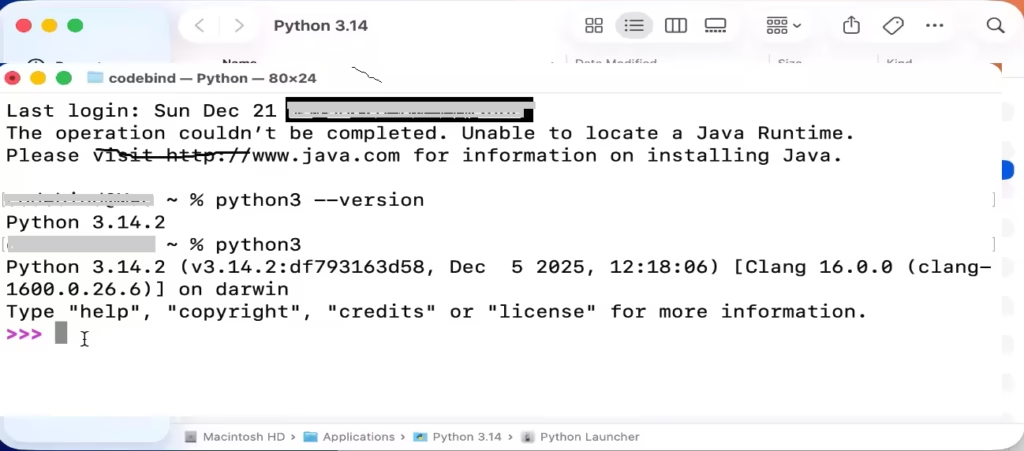
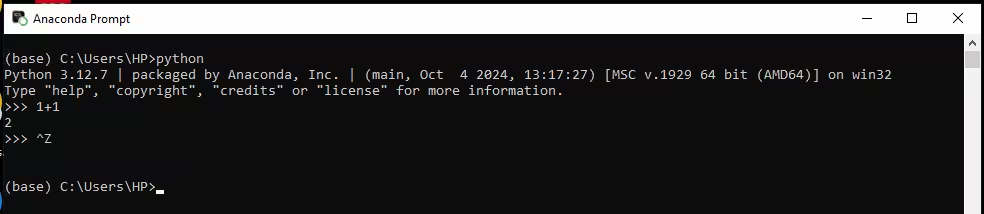
Step 3: Confirm Python is installed correctly
In your terminal, type one of the following and press Enter:
Windows:
python
macOS:
Try python first
If that doesn’t work or shows Python 2.x, use python3
If Python starts successfully, you’ll enter the Python interactive prompt, which looks like this:
>>>
You should also see a version number printed.
What to verify
The version displayed should match what you installed.
If you’re on a Mac and you see a version starting with 2, use python3 to run Python 3.
Quick test
At the >>> prompt, type:
1 + 1
Press Enter and confirm you see:
2
Step 4: Exit the Python prompt
Before installing anything else, you must leave the Python prompt and return to your normal terminal.
Use one of these methods:
macOS / Linux: Press Control + D
Windows: Press Control + Z, then press Enter
All operating systems: Type quit() and press Enter
Important: It’s Control + D, not Command + D.
When you’ve exited, you should no longer see >>>.
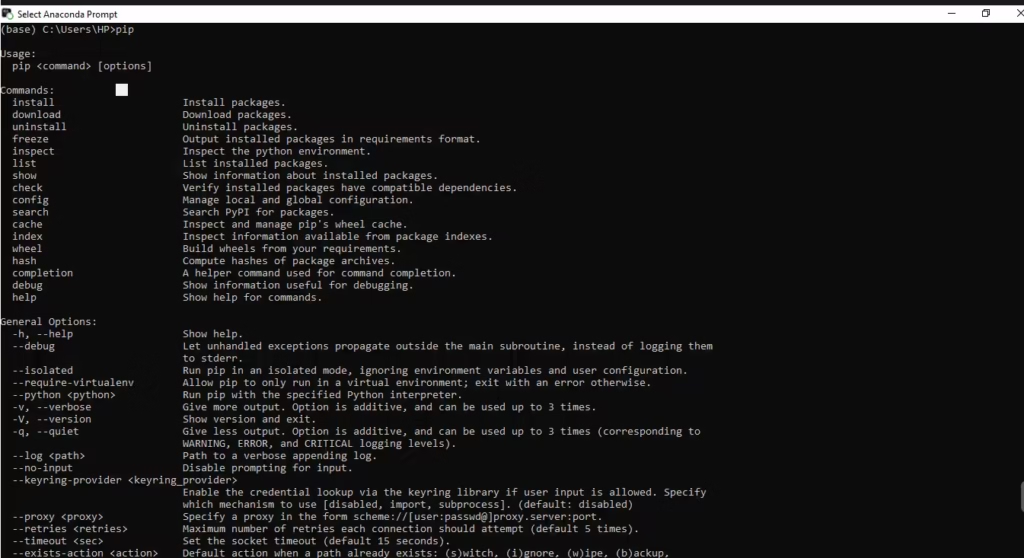
Step 5: Check that pip is available
Back in your regular terminal (not the Python prompt), type:
pip
Press Enter. If pip is installed, you should see a list of commands or help text.
Step 6: Install JupyterLab using pip
Now install JupyterLab (the tool used to open and run .ipynb notebook files).
In the terminal, run:
pip install jupyterlab
Wait for installation to finish.
Step 7: Navigate to your Exercise Files folder
Next, you’ll move your terminal into the folder where you saved your exercise files.
Use the cd command (change directory):
cd <your-folder-path>
Easy way to get the folder path
Open File Explorer (Windows) or Finder (Mac), locate the exercise files folder, then:
Copy the folder path
Paste it into your terminal after cd
Press Enter
This places your terminal “inside” the folder so you can start JupyterLab there.
Step 8: Start JupyterLab
Once your terminal is in the correct folder, run:
jupyter lab
This starts a Jupyter Notebook server on your computer.
What should happen next:
A browser window opens automatically
You’ll see the files in your exercise folder
Step 9: Open and run a notebook (.ipynb)
Inside JupyterLab:
Look at the left-side file browser
Click any notebook file (it ends with .ipynb)
Notebooks are made up of cells—each cell contains a small piece of Python code.
You can run cells one at a time
You can experiment safely and learn step-by-step
Optional: Install Visual Studio Code (backup + recommended)
JupyterLab isn’t the only tool that can open notebook files.
Visual Studio Code is an excellent development environment that:
Can open and run .ipynb notebook files
Is also great for larger Python projects
If you run into issues with JupyterLab, Visual Studio Code can be a practical alternative.
Quick checklist (before moving on)
Use this checklist to confirm your setup is fully working before you continue.
A. Python works (and it’s Python 3)
Python launches from the terminal
Run: python (Windows) or python3 (macOS/Linux)
You should see the >>> prompt
Python version is 3.x
Run: python --version (Windows) or python3 --version (macOS/Linux)
Tip: copy the folder path from File Explorer/Finder and paste it after cd
You can confirm your location(optional but helpful)
Windows: dir (you should see your files listed)
macOS/Linux: ls
F. JupyterLab opens and notebooks run
JupyterLab starts
Run: jupyter lab
A browser window opens (or a URL appears in the terminal that you can open)
You can open a .ipynb file and run cells
Open a notebook from the left panel
Run a cell and confirm it executes
If your installation doesn’t go smoothly
Installation issues can happen because every system is different (Windows/macOS/Linux versions, security settings, and environment configuration).
Here are the most important “first checks” before you assume something is broken:
Make sure you’re in the regular terminal, not the Python prompt.
If you see >>>, you’re still inside Python. Exit using Control + D (Mac/Linux) or Control + Z then Enter (Windows), or type quit().
Double-check the Python version you’re running.
On macOS, you may need python3 instead of python.
Confirm pip is working by typing pip and checking that it shows help output.
If you still run into trouble, use the course’s Troubleshooting document and the linked Troubleshooting Wiki (if provided). Those resources are usually designed to match the course setup step-by-step.
If you believe your issue is unique even after following those steps, post it in the course Q&A area—many instructors add new solutions to the troubleshooting wiki over time.
How to stop JupyterLab (so you can return to the command line)
When you start JupyterLab, your terminal is “busy” running the notebook server in the background. To stop it:
Go back to the terminal window where you ran jupyter lab.
Press Ctrl + C.
If it asks to confirm shutdown, type y and press Enter (this may appear depending on your setup).
Close the browser tab if it’s still open.
What you should have ready for the next lesson
Before moving on, make sure you can do these confidently:
Launch your terminal quickly (you’ll use it often)
Navigate into your project/exercise folder using cd
Start and stop JupyterLab when needed
Open a notebook and run cells inside JupyterLab
Once these basics are working, you’re set up for the rest of the course workflow—where you’ll switch between notebooks and the command line regularly.