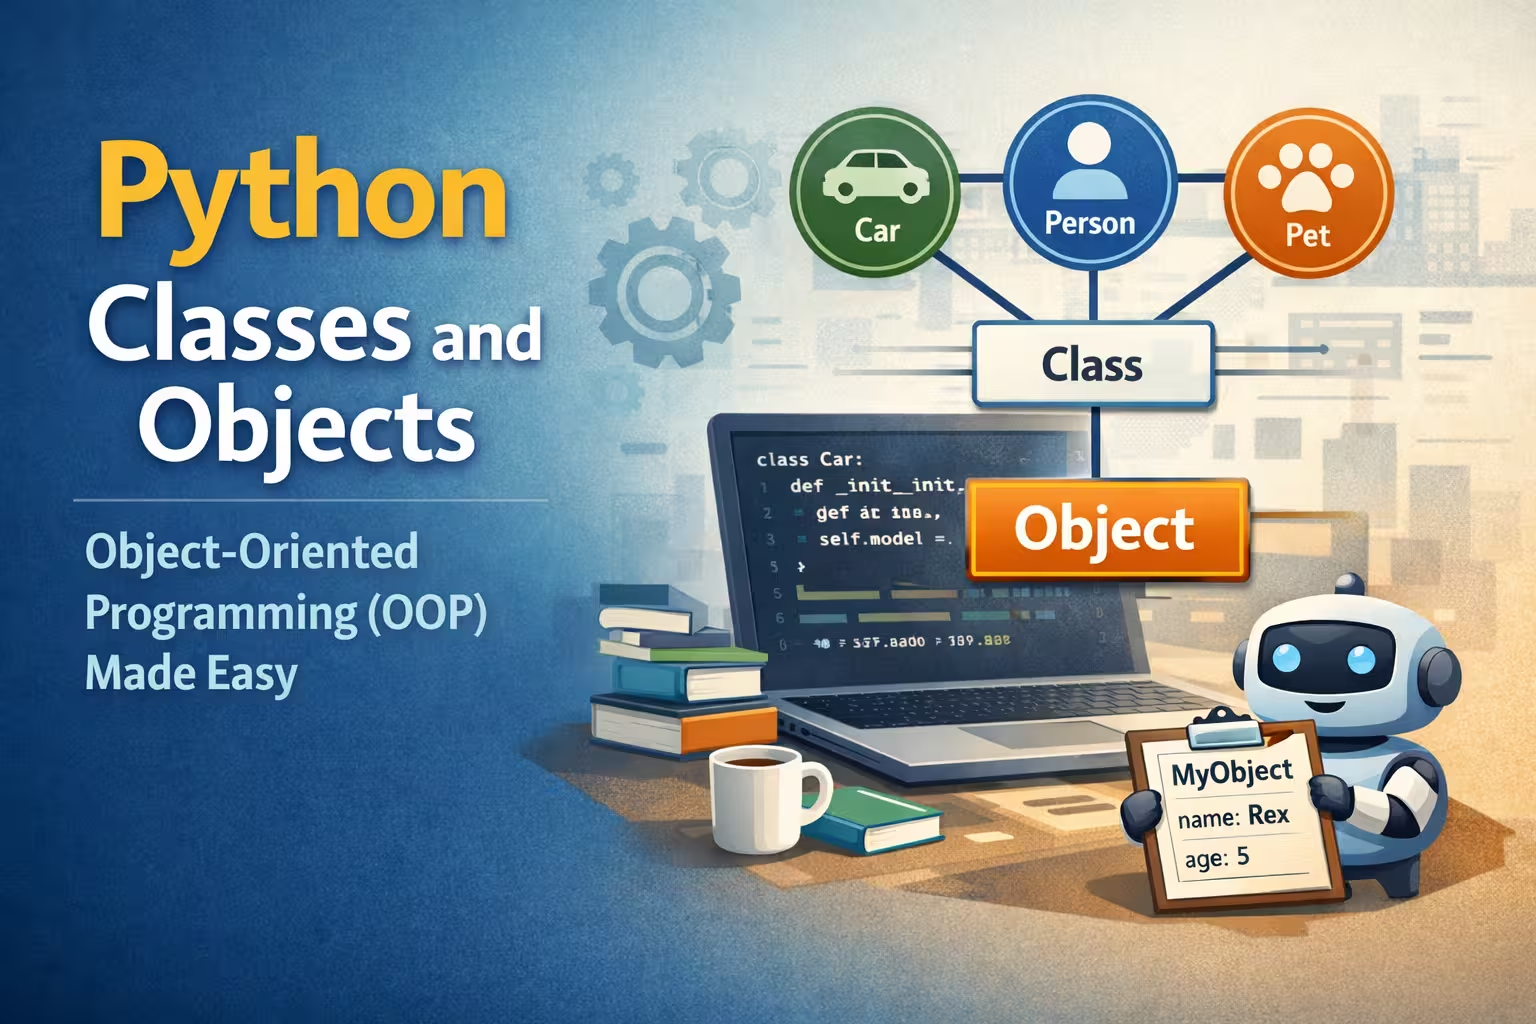
Object-Oriented Programming (OOP) can sound intimidating at first, but the core idea is simple: group related data and behavior together so your code stays organized as projects grow.
In this tutorial, you’ll learn what classes and objects are in Python, why they’re useful, and how to create and use them with a clear example.
What problem do classes solve?
When you build small scripts, it’s easy to manage code with a few variables and functions. But real-world programs often grow into dozens of functions and hundreds (or thousands) of variables.
Think about modeling something bigger than a single action. Instead of a “toaster function,” imagine a whole kitchen:
- Many abilities: toast, bake, microwave, wash dishes, make coffee
- Many settings: toaster knob level, microwave power, dishwasher modes
Now imagine two different kitchens, each with different appliances or settings. Or a house that contains a kitchen, laundry room, bathroom, and so on. Once you start copying and reusing related variables and functions, code becomes long and unmanageable.
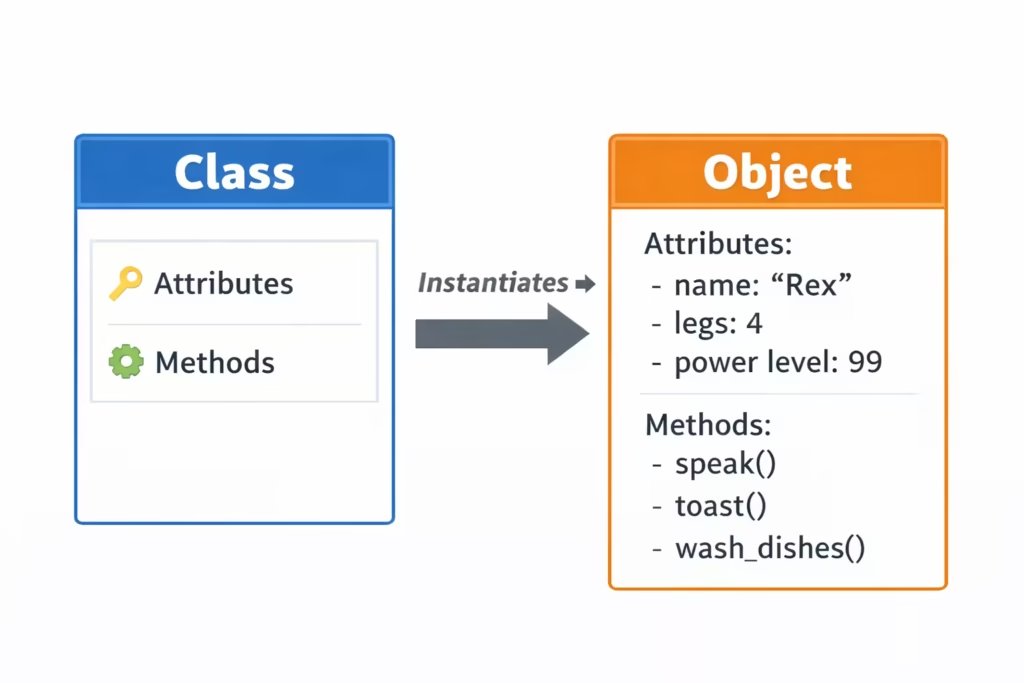
A class solves this by letting you create a clean blueprint that contains:
- Attributes (data) → like “name”, “legs”, “power level”
- Methods (functions) → like “speak()”, “toast()”, “wash_dishes()”
This way, you can create multiple separate “things” (objects) from the same blueprint.
Class
A class is a blueprint for creating objects.
- Class → blueprint (template)
- Object / Instance → the actual thing created from the blueprint
Example:
- Class:
Dog - Objects:
rover,fluffy(two different dogs created from theDogclass)
Creating your first class
In Python, class names typically start with a capital letter. This convention matters because it helps you quickly identify what’s a class vs. what’s a function/variable.
Here’s a simple Dog class:
class Dog:
    pass
class Dog:defines a new class namedDog- The colon
:means the class body is indented passis a placeholder when you haven’t added anything yet
[ Creating a new Python file and typing a simple class definition]
__init__ method (initialization)
Most classes need a way to set up initial values. Python uses a special method called:
__init__(double underscores on both sides)
This method runs automatically whenever you create a new object from the class.
class Dog:
    def __init__(self):
        self.name = "Rover"
        self.legs = 4
Why is self required?
self represents the specific object being created.
When you write:
my_dog = Dog()Python creates a new dog object and automatically passes that object into __init__ as self.
So inside __init__, you can attach data to the object using self.something.
Adding a method
Attributes store data, but objects also do things. Those actions are written as methods.
Let’s add a speak() method:
class Dog:
    def __init__(self):
        self.name = "Rover"
        self.legs = 4

    def speak(self):
        print("bark")
Notice that speak() also takes self. That’s because the method belongs to an object, and it might need access to that object’s data.
Using object attributes inside methods
A method can use self to access attributes:
class Dog:
    def __init__(self):
        self.name = "Rover"
        self.legs = 4

    def speak(self):
        print(self.name + " says bark")
Now the output becomes more meaningful.
Creating objects (instances)
To create an object, you call the class name like a function:
my_dog = Dog()Even though it looks like a function call, Dog() is actually creating a new object from the class.
Now you can call methods using dot syntax:
my_dog.speak()Output:
Rover says bark[Running the code and seeing the output for my_dog.speak()]
Multiple objects from the same class
One big advantage of classes is that you can create multiple independent objects:
my_dog = Dog()
another_dog = Dog()

my_dog.speak()
another_dog.speak()
Both objects are separate in memory, but with our current code they both end up with the same name ("Rover"). That’s not always what we want.
So let’s improve it.
Passing values into __init__
Instead of hardcoding the name, we can accept a parameter:
class Dog:
    def __init__(self, name):
        self.name = name
        self.legs = 4

    def speak(self):
        print(self.name + " says bark")
Now when we create dogs, we can pass different names:
my_dog = Dog("Rover")

another_dog = Dog("Fluffy")

my_dog.speak()
another_dog.speak()
Output:
Rover says bark
Fluffy says bark
This is a classic OOP pattern: your class defines the structure, and you provide specific values when creating objects.
Why does speak() look like it has no arguments?
You might notice something interesting:
my_dog.speak()There are no arguments inside the parentheses. But the method definition is:
def speak(self):So where does self come from?
The dot syntax automatically passes the object
When you call:
my_dog.speak()Code language: CSS (css)Python behaves as if you wrote:
Dog.speak(my_dog)That means:
selfbecomesmy_dog- the method runs on that specific object
This is why self is so important—without it, methods wouldn’t know which object they should work with.
Key OOP terminology
As you learn OOP, you’ll hear a few common words:
- Object / Instance: a value created from a class (e.g.,
Dog("Rover")) - Attribute: a variable stored inside an object (e.g.,
self.name,self.legs) - Method: a function inside a class (e.g.,
speak())
So you can say:
“The
Dogobject has an attributenameand a methodspeak().”
Quick best practices for beginners
- Use CapitalizedNames for classes (e.g.,
Dog,BankAccount,StudentProfile) - Use lowercase_with_underscores for variables and functions (e.g.,
my_dog,calculate_total()) - Put setup logic in
__init__ - Access object data through
self.attribute
These conventions make code more readable and professional.
Exercise
Create a class called KitchenAppliance with:
- Attributes:
name,power_level - Method:
turn_on()that prints something like:Microwave is on at power level 7
Then create two different appliances and call turn_on() for both.
What’s next?
This tutorial gives you the foundation: classes, objects, attributes, methods, __init__, and self.
In the next lessons, you’ll see how OOP becomes truly powerful with ideas like:
- multiple methods and richer object behavior
- organizing larger systems cleanly
- reusing code with inheritance (later)
When you’re ready, share the next transcript and we’ll convert it into the next tutorial article in the series.