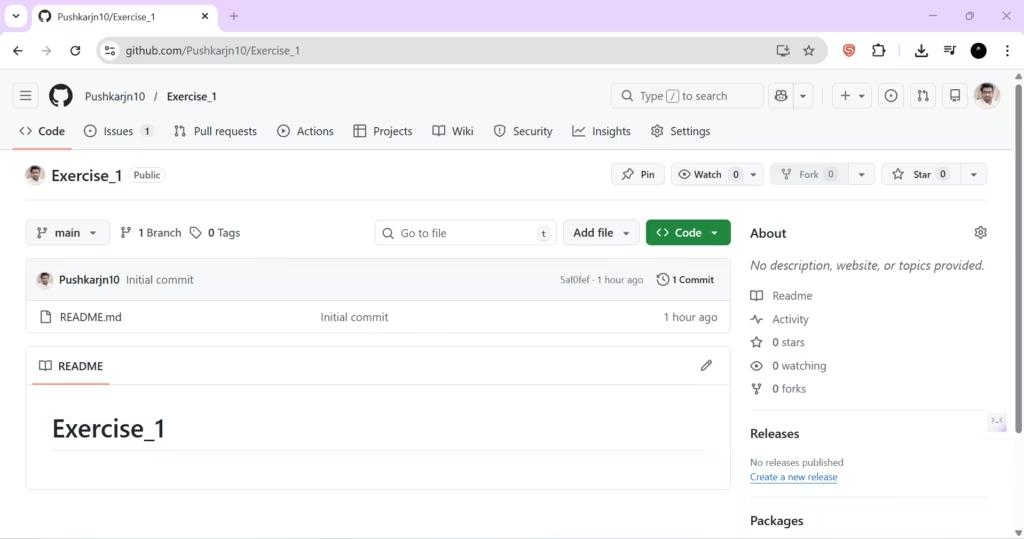
Create a Branch in Git: Clone the Repo and Start Working on a Feature Branch
Branching is one of the most important habits you can learn in Git, because it’s how real teams keep work organized and safe. A branch is simply an independent line of development inside the same repository. Instead of changing the main branch directly (usually main), you create a new branch for a specific task—like fixing a bug, improving the README, or adding a new feature. This keeps the main branch clean and stable while you experiment and build. If something goes wrong, you can discard the branch without damaging your main code. If everything goes well, you merge the branch later using a pull request.
In professional workflows, branches also make collaboration possible. Multiple developers can work in parallel without overwriting each other’s changes. One person can work on a UI branch, another on an API branch, and a third on documentation—then Git helps combine those changes cleanly. Even if you are working alone, branching is still useful because it creates a neat structure: “one branch = one task.” This makes your commit history clearer, your pull requests easier to review, and your project feel professional.
Before creating a branch, you need a local copy of your GitHub repository on your computer. You’ll do that by cloning the repository. Cloning downloads the project files and the full Git history to your machine, and it automatically connects your local repository to the GitHub repository as a remote (usually named origin).
Step-by-step: Clone your GitHub repository to your computer
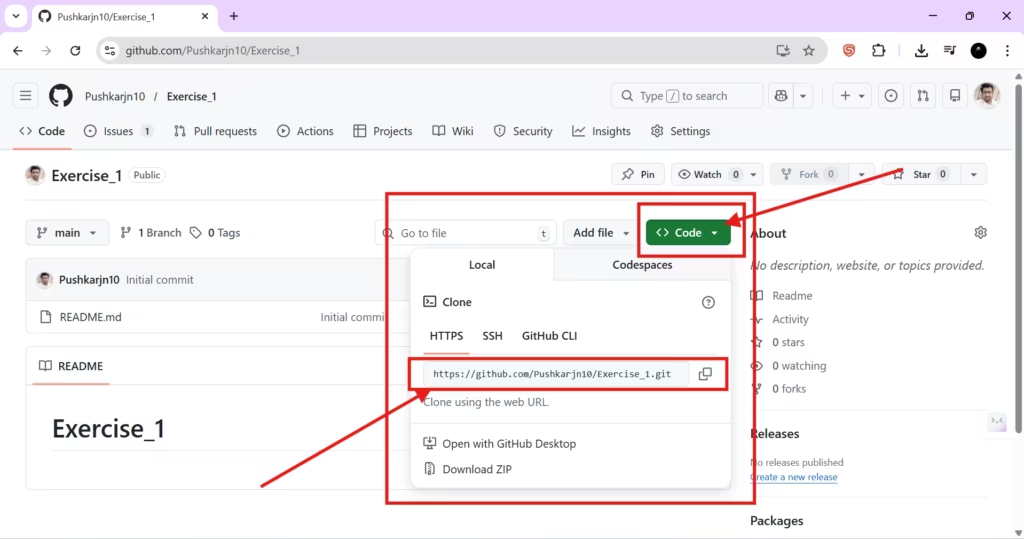
Step 1: Open your repository on GitHub
Go to the repository you created in the previous section.
Step 2: Copy the repository URL (HTTPS)
Click the green Code button on the repository page. In the popup, select the HTTPS tab (this is easiest for beginners), and click the copy icon to copy the URL.
Step 3: Open Windows Terminal and run git clone
Open Windows Terminal (PowerShell is fine) and run:
git clone <PASTE_YOUR_REPO_URL_HERE>
Code language: HTML, XML (xml)
This creates a new folder on your computer with the same name as your repository, and Git downloads the project into that folder.
[Add Screenshot: Terminal showing git clone command + output]
Step 4: Move into the repository folder
Use cd to enter the new folder:
cd <YOUR_REPO_FOLDER_NAME>
Code language: HTML, XML (xml)
Now you are inside your local repository, ready to create branches and commits.
[Add Screenshot: Terminal showing cd into repo]
Step-by-step: Check your current branch and view available branches
Once you’re inside the repository folder, it’s good practice to confirm which branch you’re currently on.
Step 5: Check what branch you are on
Run:
git status
Git will show your current branch (often main) and whether your working directory is clean.
[Add Screenshot: git status showing current branch]
Step 6: List branches (local and remote)
To see local branches:
git branch
To see both local and remote branches:
git branch --all
Remote branches usually appear like remotes/origin/main. This helps you understand what exists on your machine versus what exists on GitHub.
[Add Screenshot: git branch –all output]
Step-by-step: Create a new branch (recommended workflow)
Now you’ll create a branch for the issue you created earlier. Use a meaningful name so the branch purpose is obvious.
Good naming examples:
docs/update-readmefeature/add-loginfix/typo-readme
Step 7: Create a new branch
You have two common options:
Option A (modern and recommended): create + switch in one command
git switch -c mybranch
Code language: JavaScript (javascript)
Option B (classic Git approach): create first, then switch
git branch mybranch
git checkout mybranch
Both approaches do the same thing: they create a branch named mybranch and move you onto it.
[Add Screenshot: Command used to create the branch]
Step 8: Confirm you switched to the new branch
Run:
git branch
The current branch is marked with an asterisk *. You should see something like * mybranch.
[Add Screenshot: git branch output showing * mybranch]
Local branch vs remote branch: why your branch isn’t on GitHub yet
At this moment, your new branch exists only on your computer. That’s why when you run git branch --all, you may see the branch locally, but not under remotes/origin/… yet. GitHub won’t know about your new branch until you push it.
You’ll push the branch after you make changes and create commits (next sections), but it’s useful to understand the idea now: Git is local-first. You create branches locally, work locally, commit locally, and then share your work to GitHub when it’s ready.
Once you finish editing files and committing changes, you’ll push your branch using:
git push -u origin mybranch
That command publishes your branch to GitHub and connects your local branch to the remote branch so future pushes and pulls become simpler.
[Add Screenshot: git push -u origin mybranch output (later)]
What you achieved in this section
You cloned your GitHub repository to your computer, navigated into it using the terminal, and created your first working branch. This is exactly how real Git workflows start: don’t work directly on main; create a branch for the task, then make focused commits inside that branch. In the next section, you’ll make your first commit—capturing your first meaningful checkpoint in Git history.